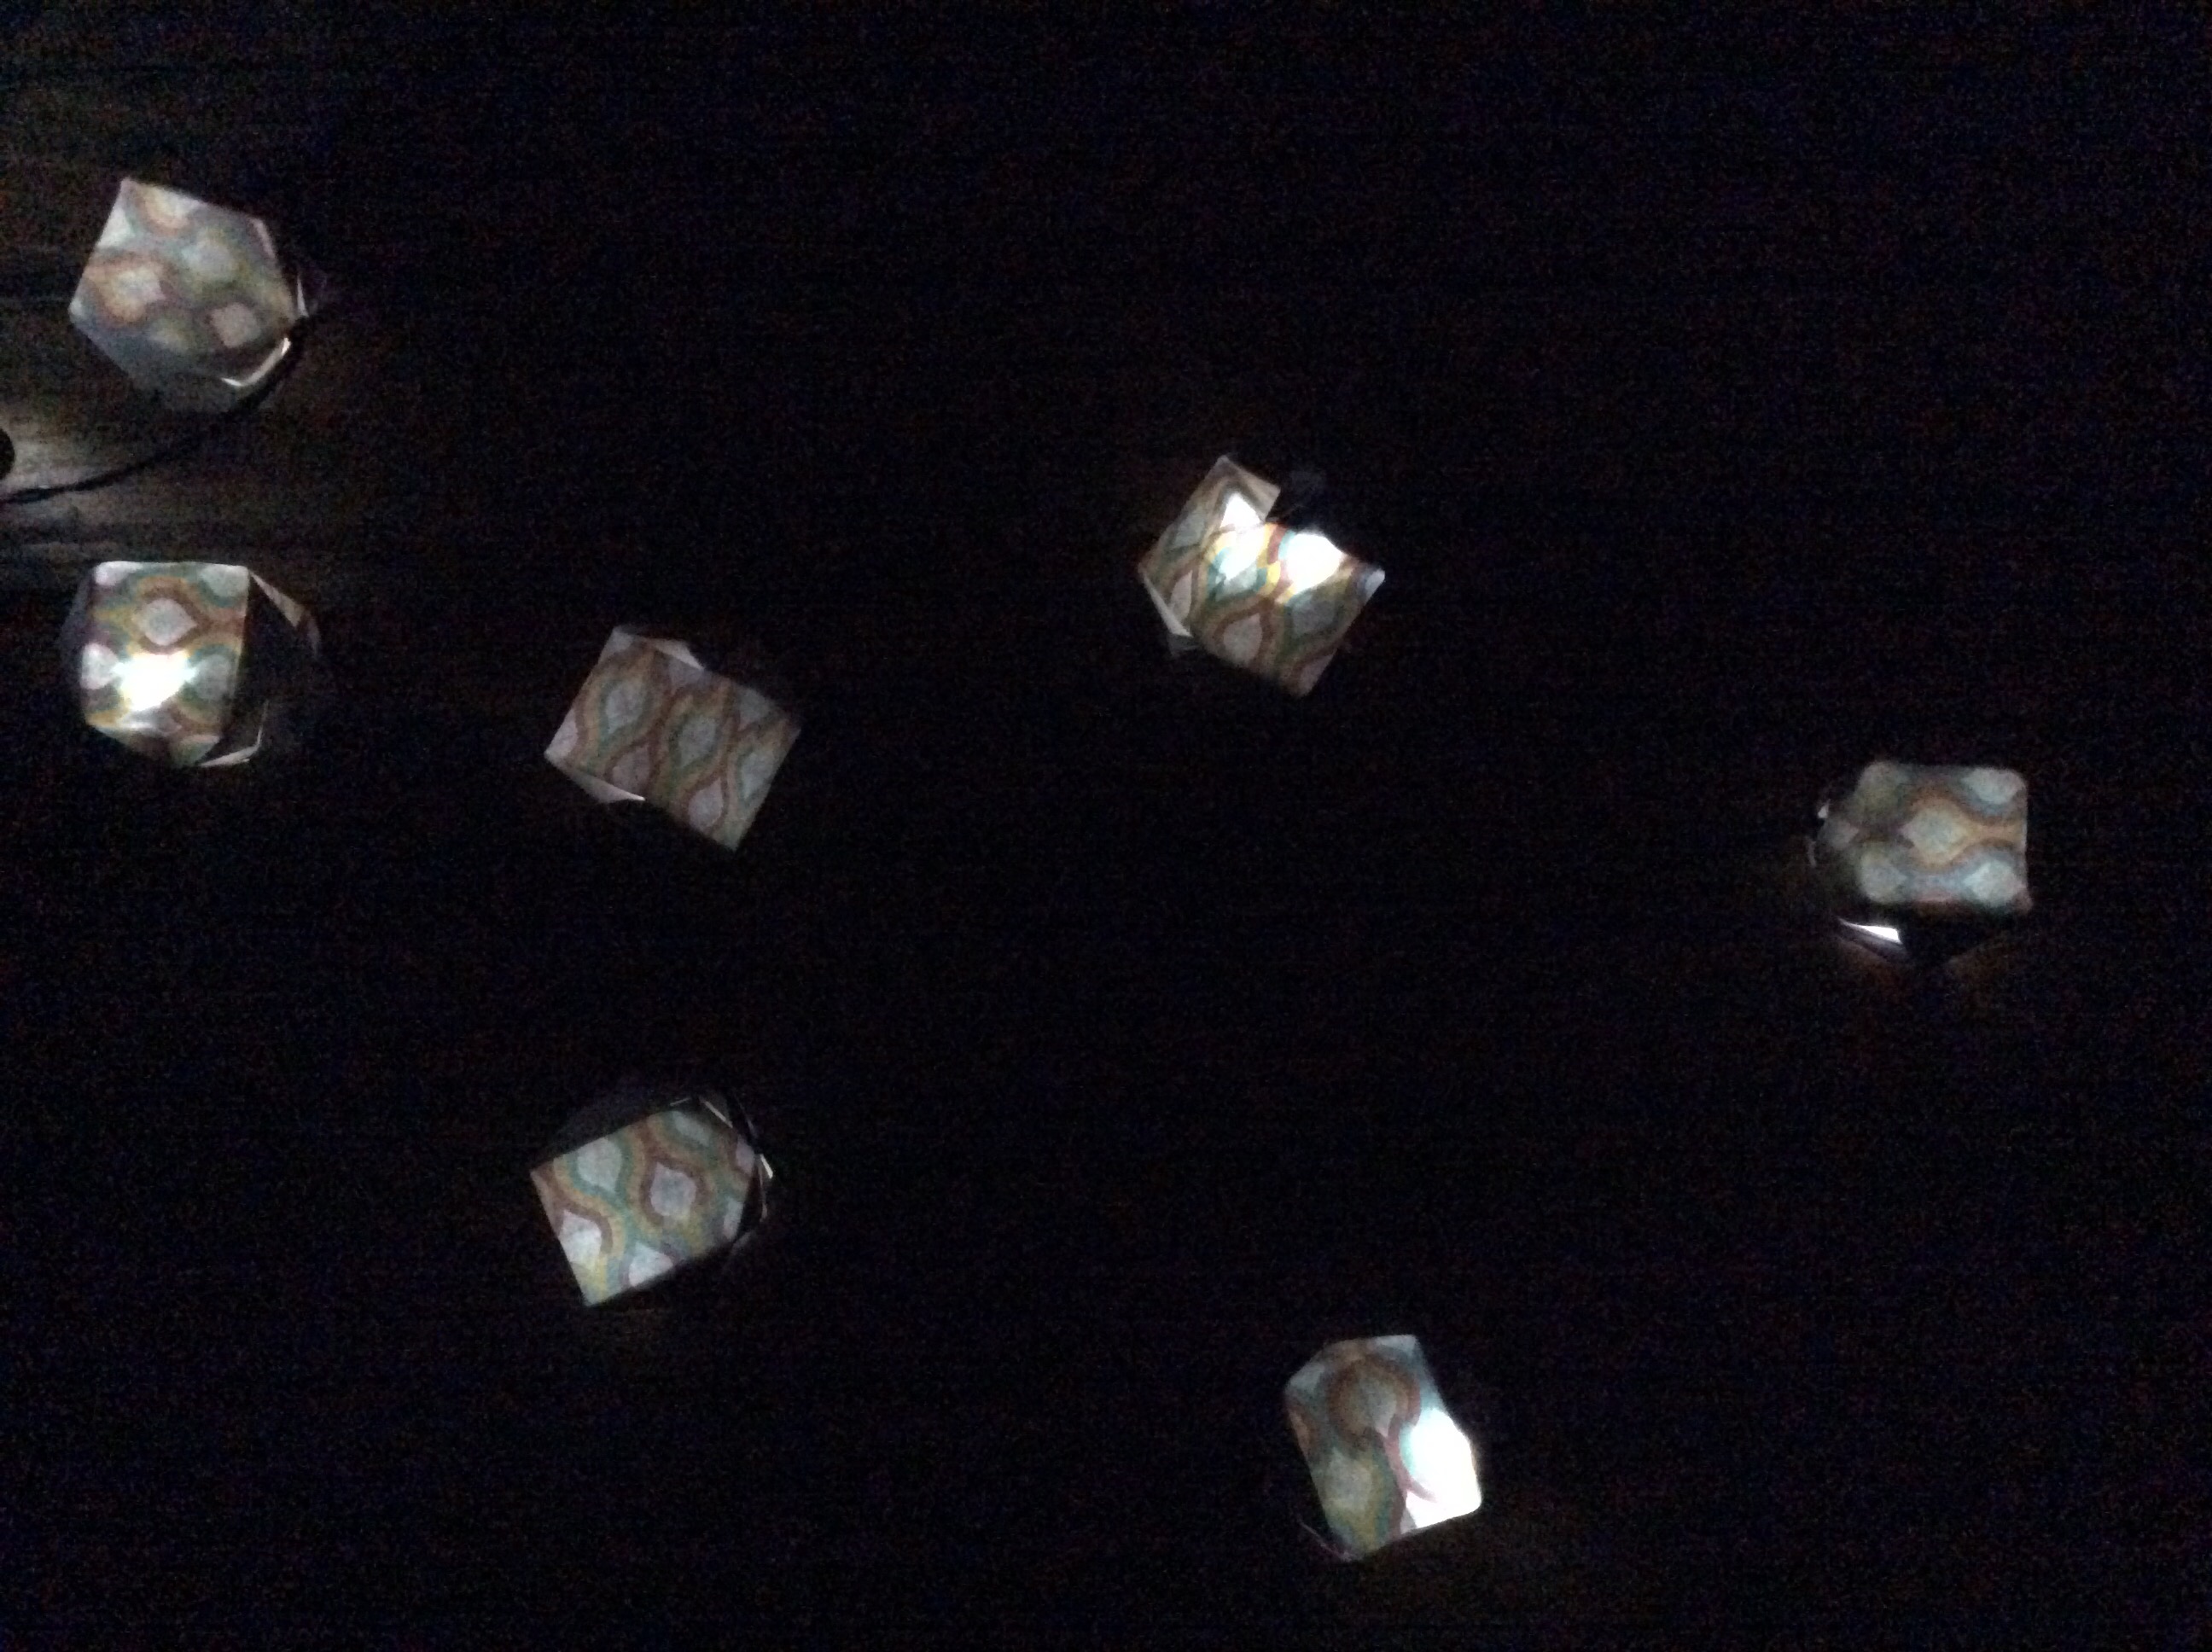
There’s something magical about fairy lights, they have the effect of making anywhere feel cosy! If you’d like to add a personal touch to your fairy lights, follow this simple guide. With Christmas coming up, these will be a festive addition to your decorations, and it only takes 30 minutes to make. With the pattern side on the inside, only when the light is on it the pattern revealed!
You will need:
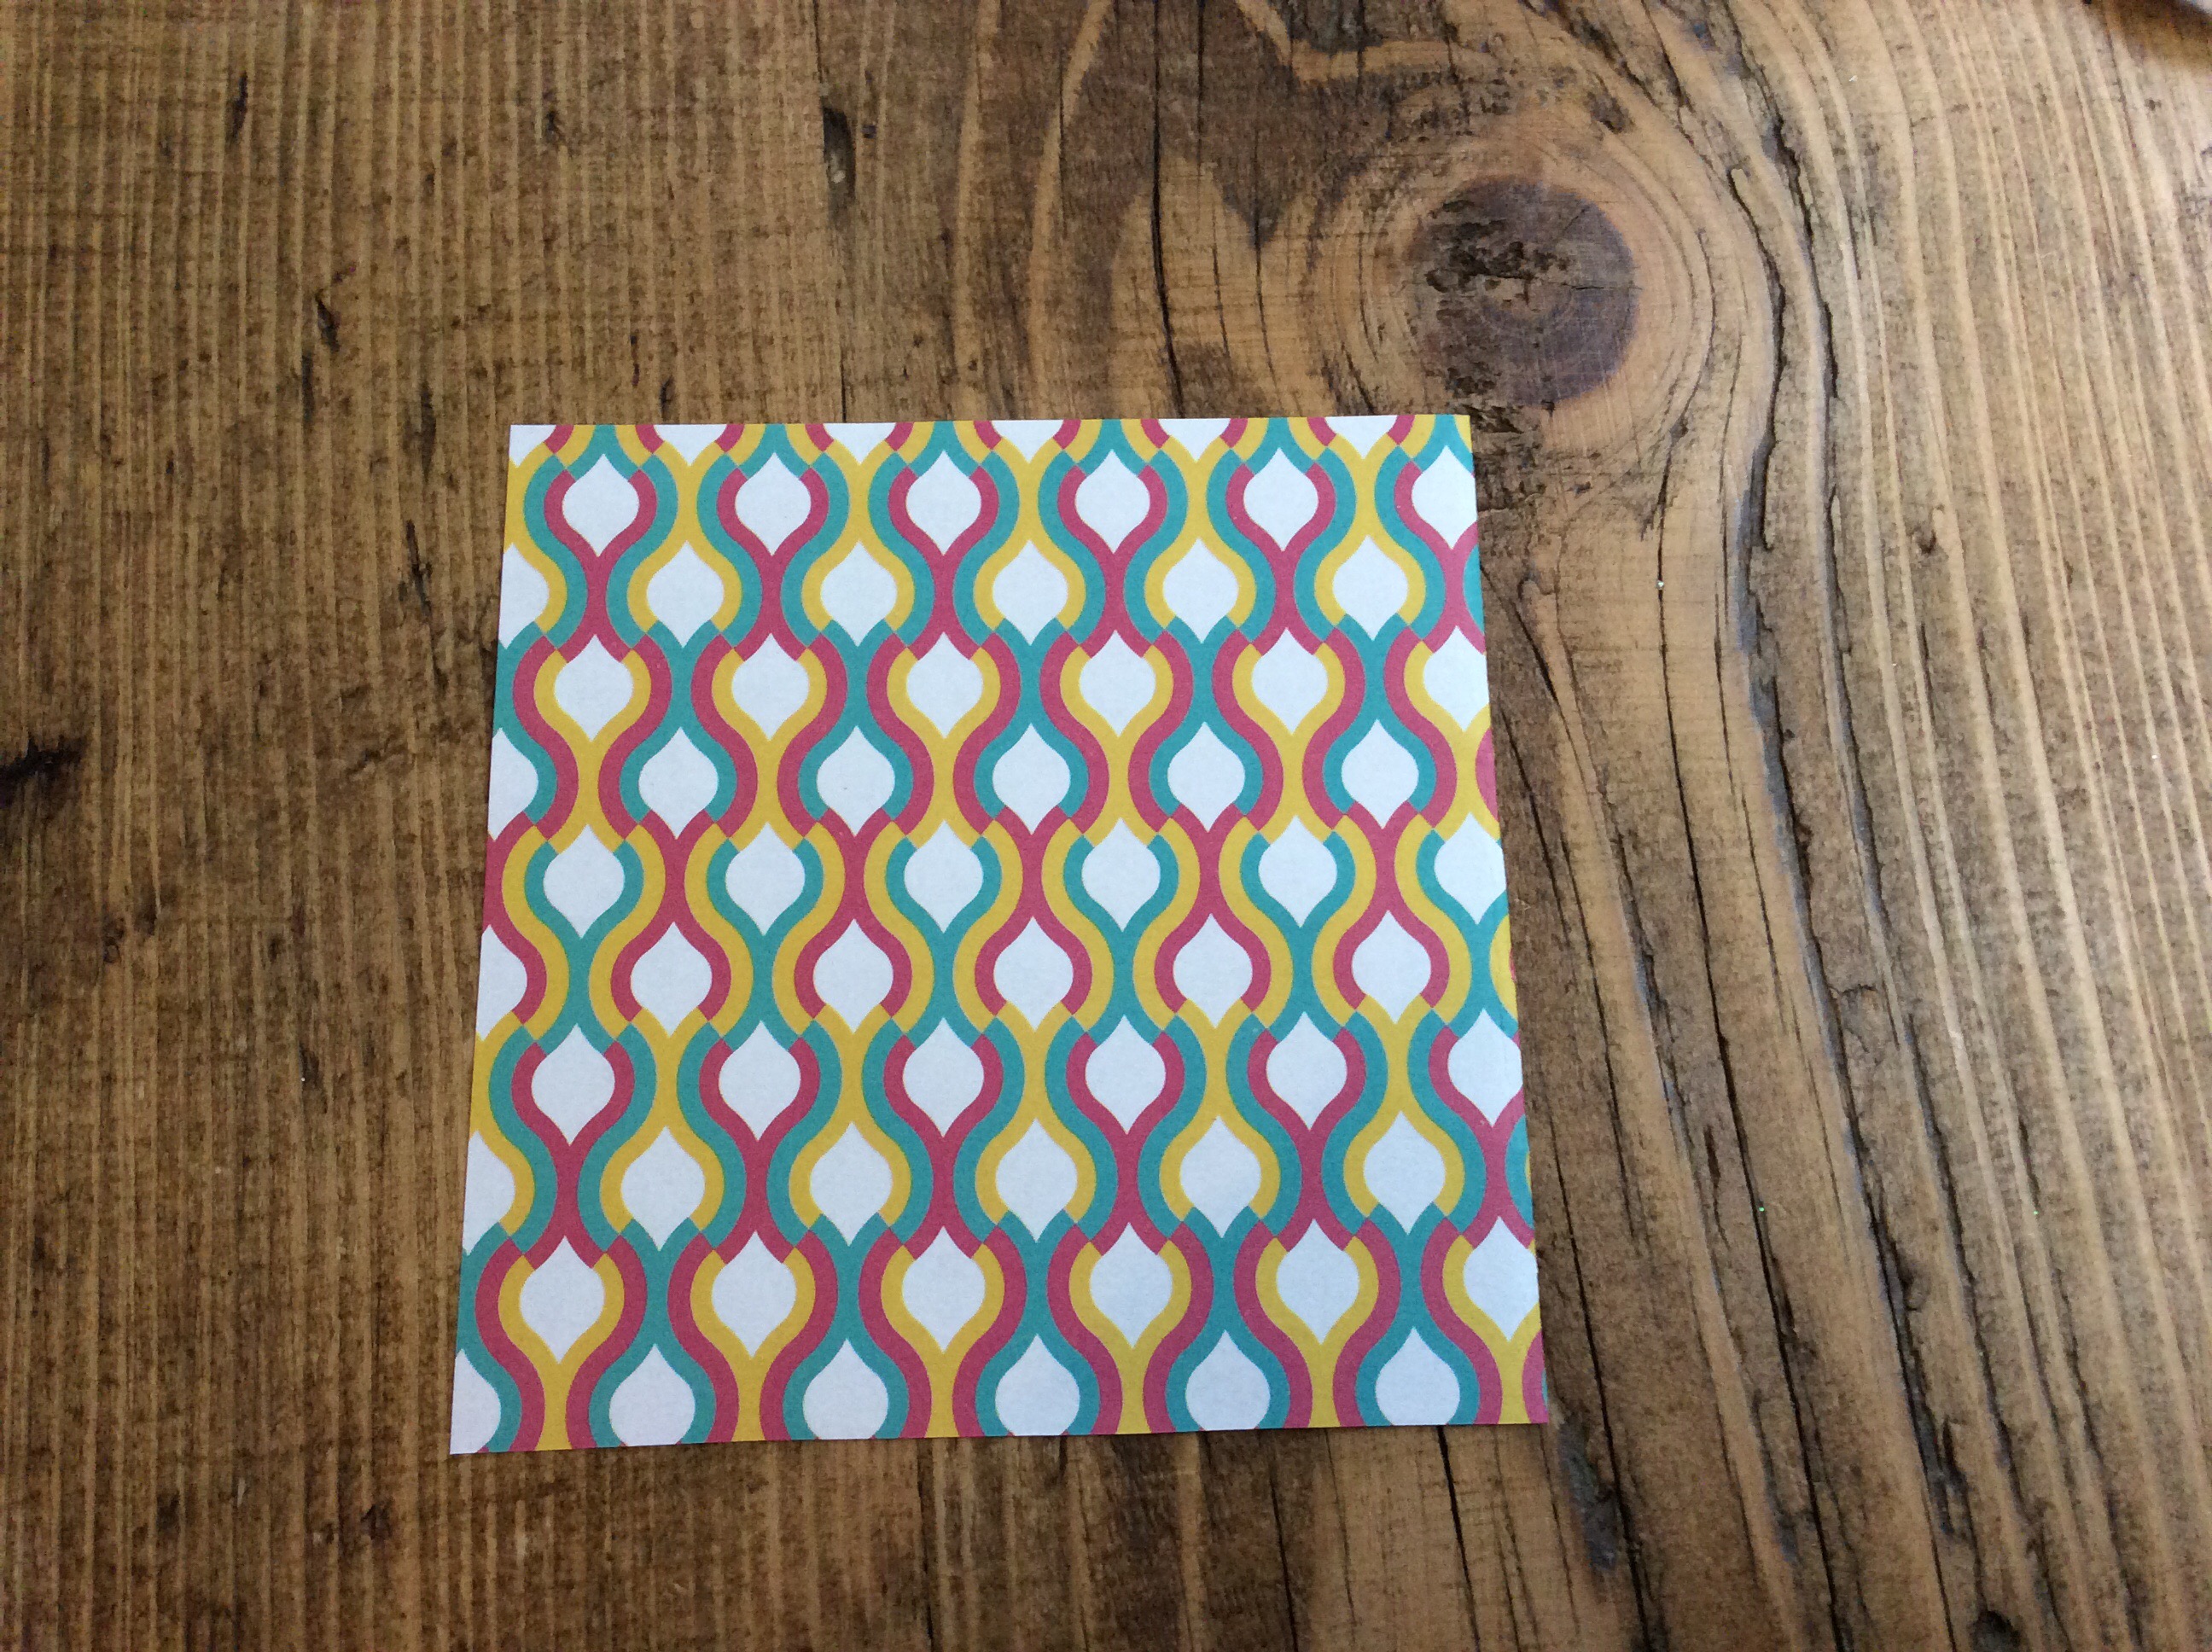
– funky paper (about 90 gsm or less) with some white in the pattern
– fairy lights
– ruler
– scissors
How to make paper lantern fairy lights:
1. Cut your paper into squares, the one shown is 10.5 cm squared which will make quite small lanterns. If you’re looking for bigger lanterns, it might be best to experiment with different sizes and scrap paper.
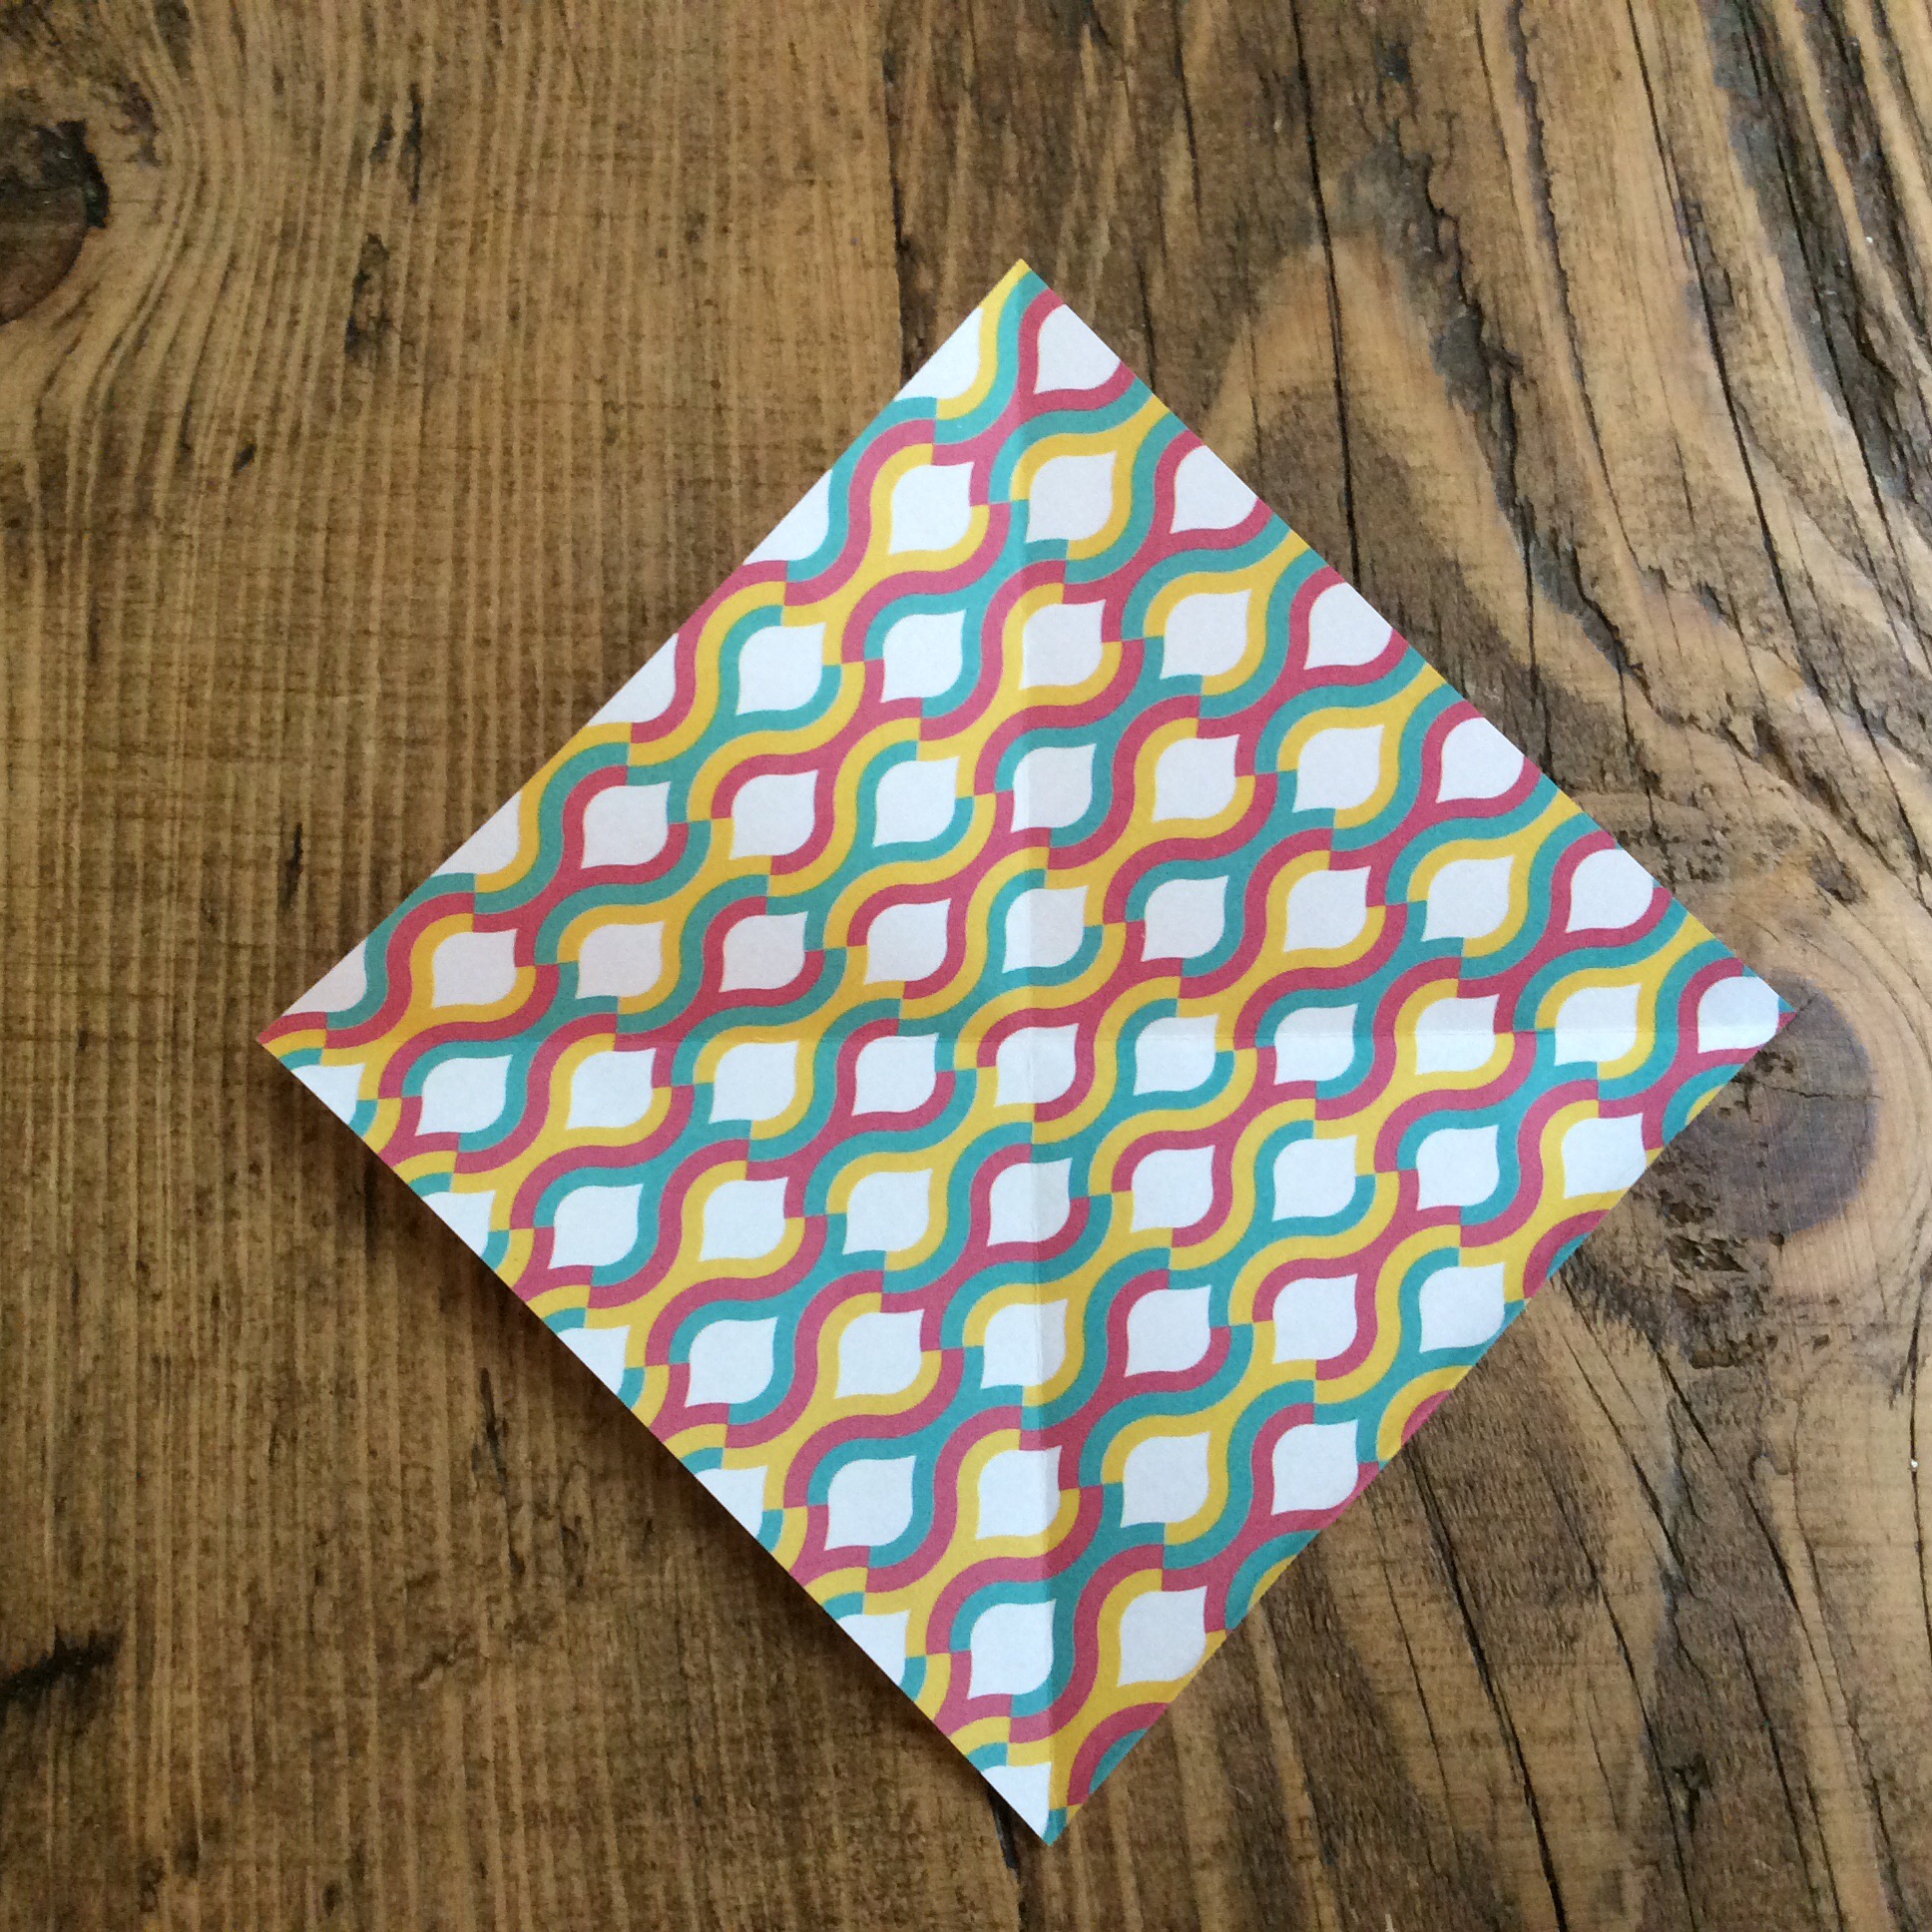
2. Fold the square diagonally from corner to corner.
3. Pinch the fold between your finger and thumb at opposite sides and push it in. 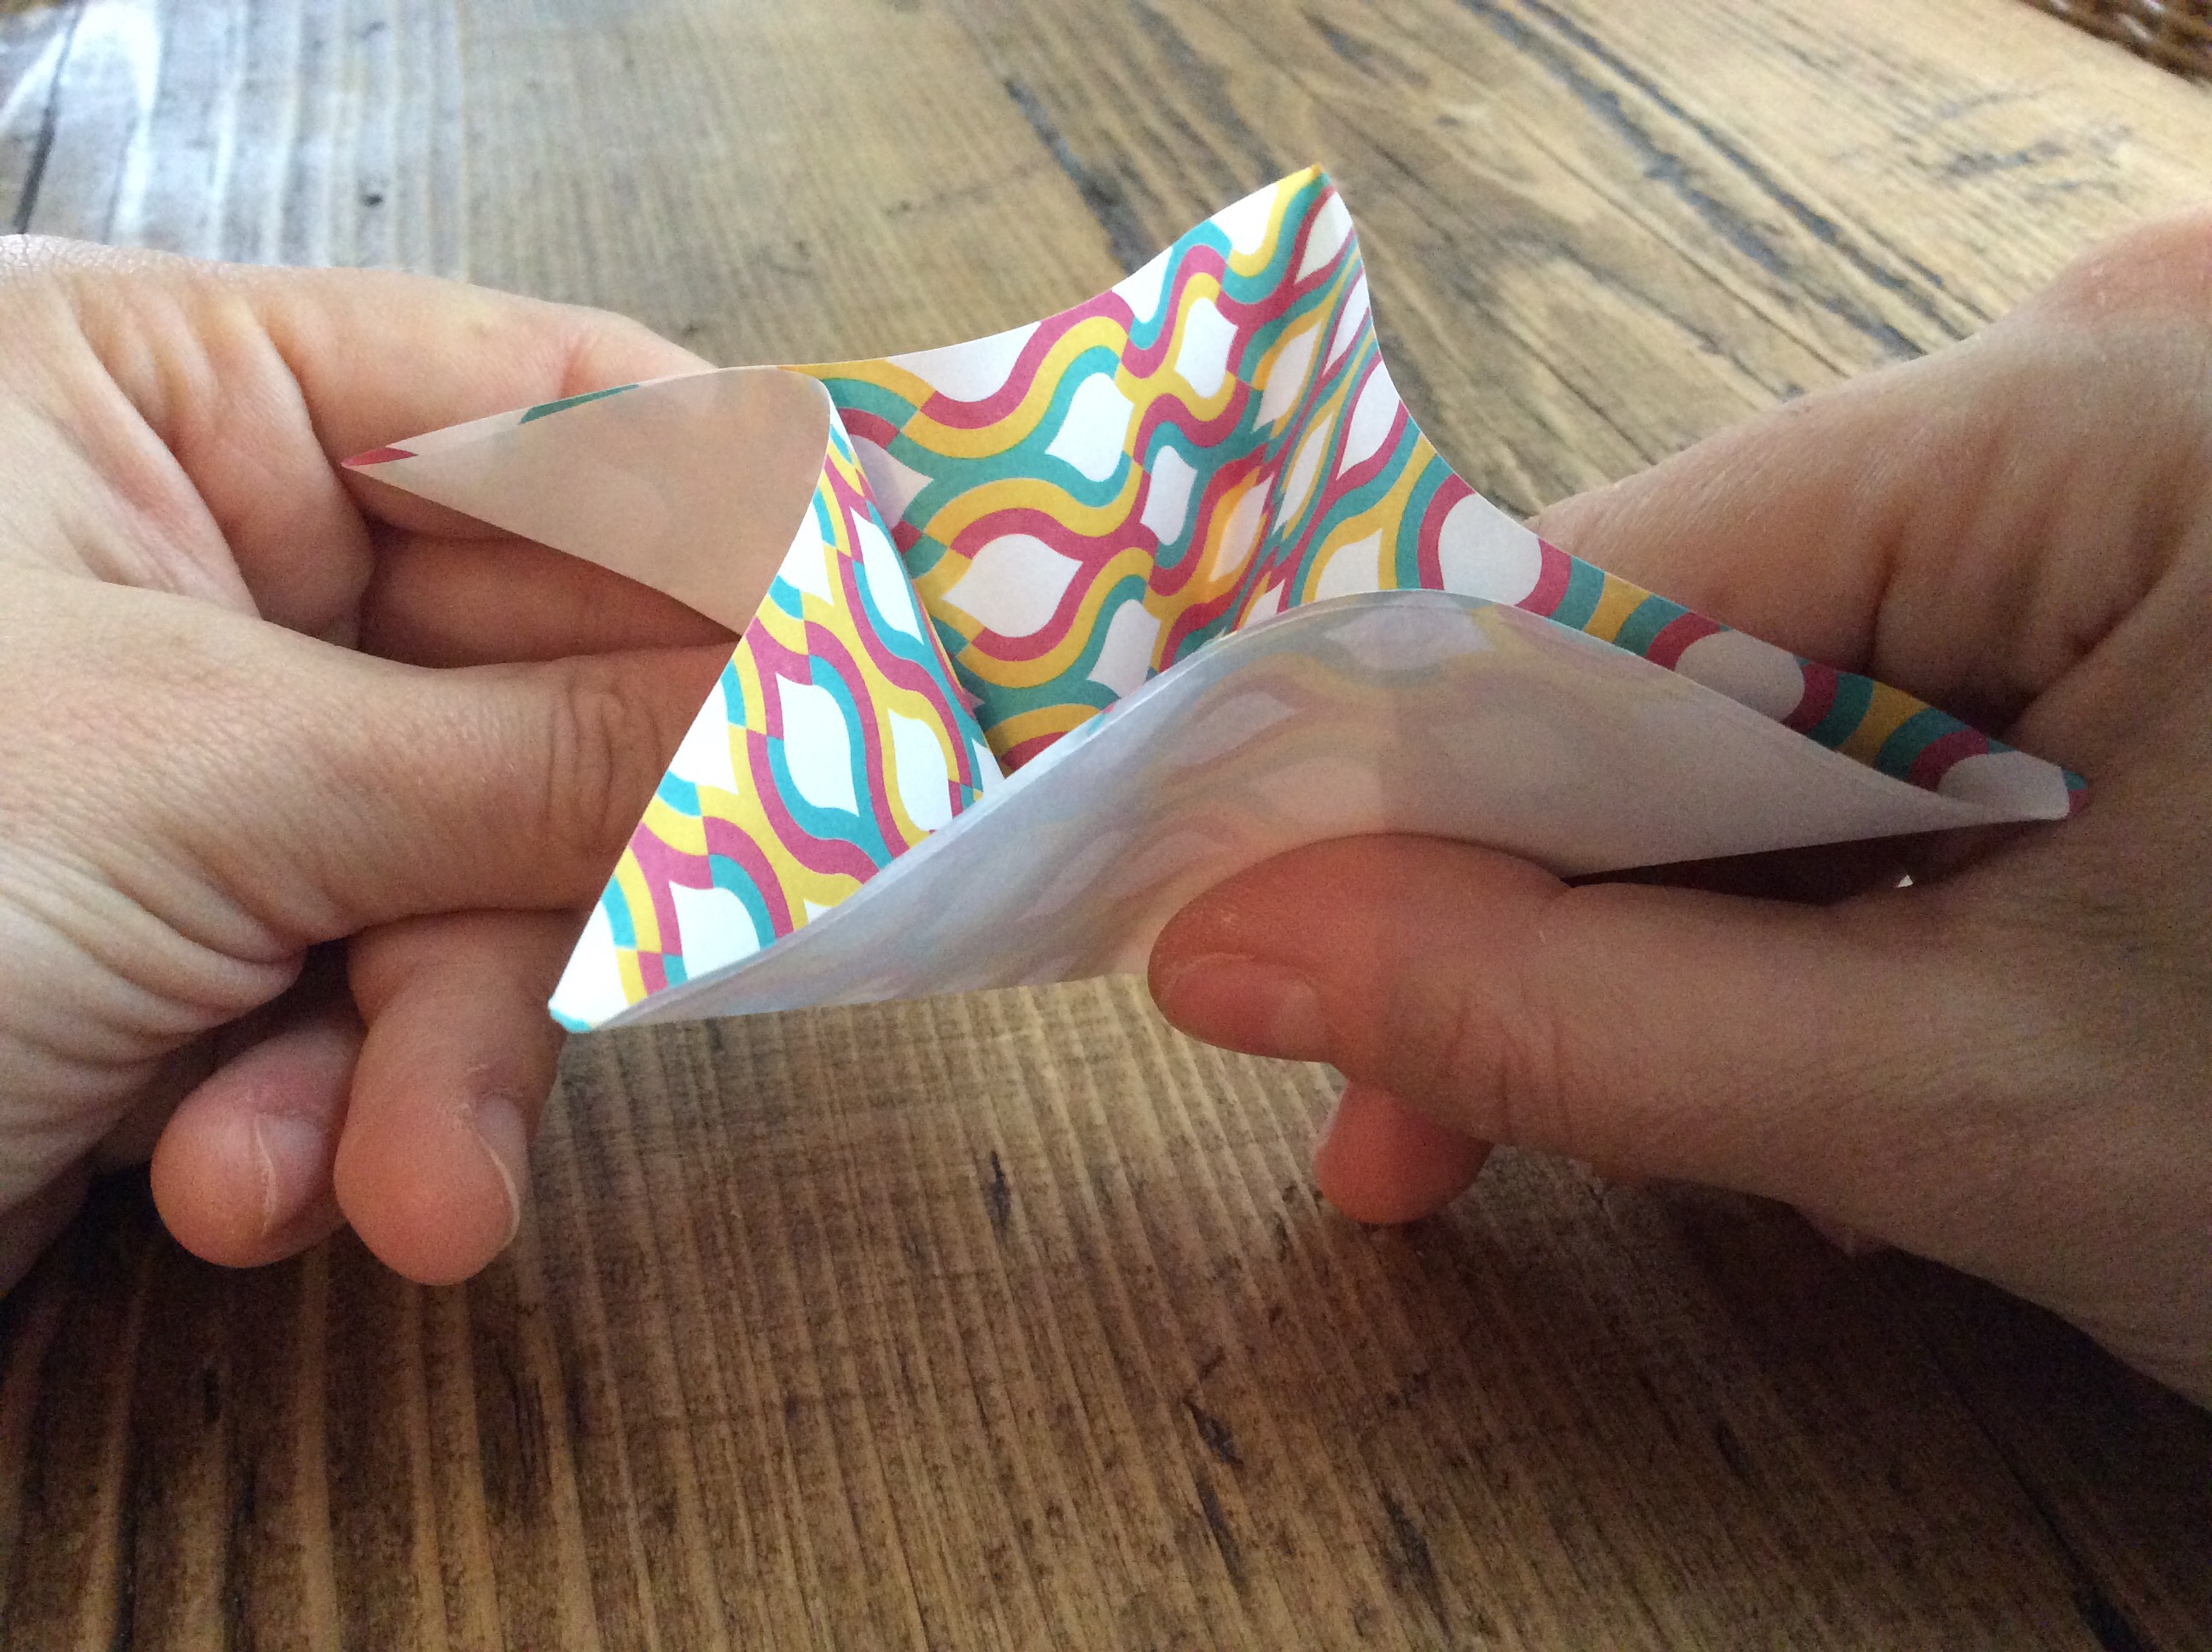
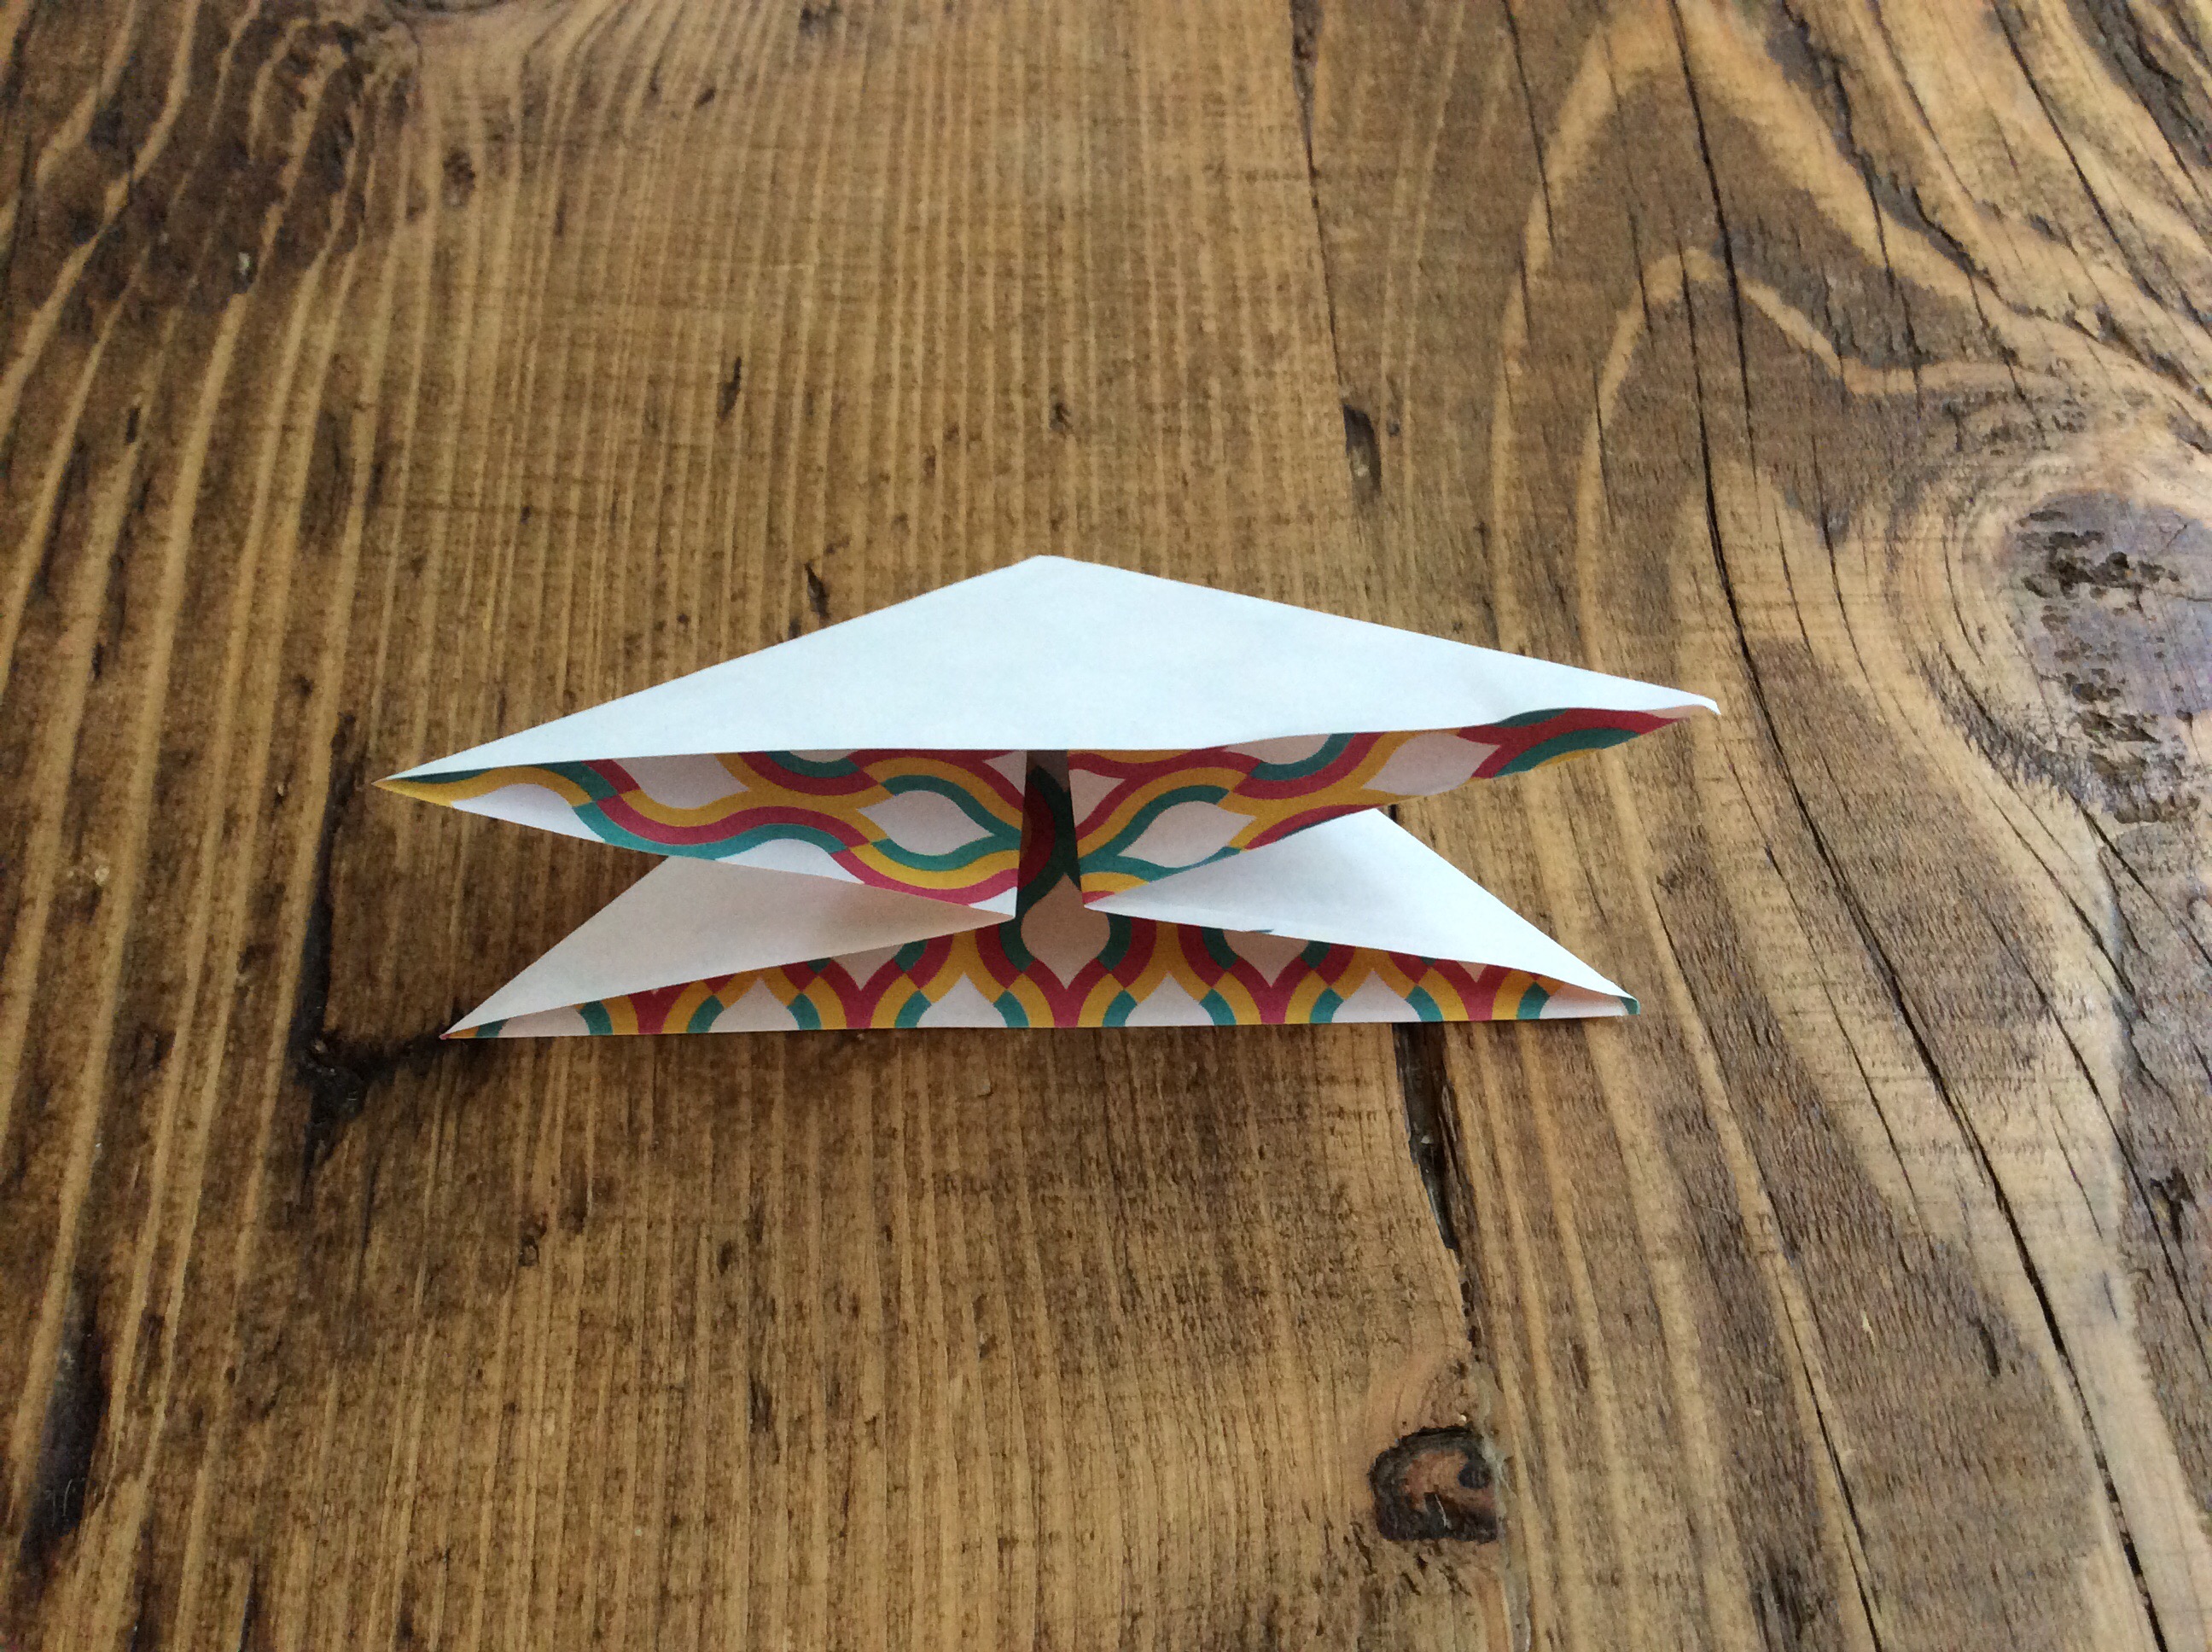
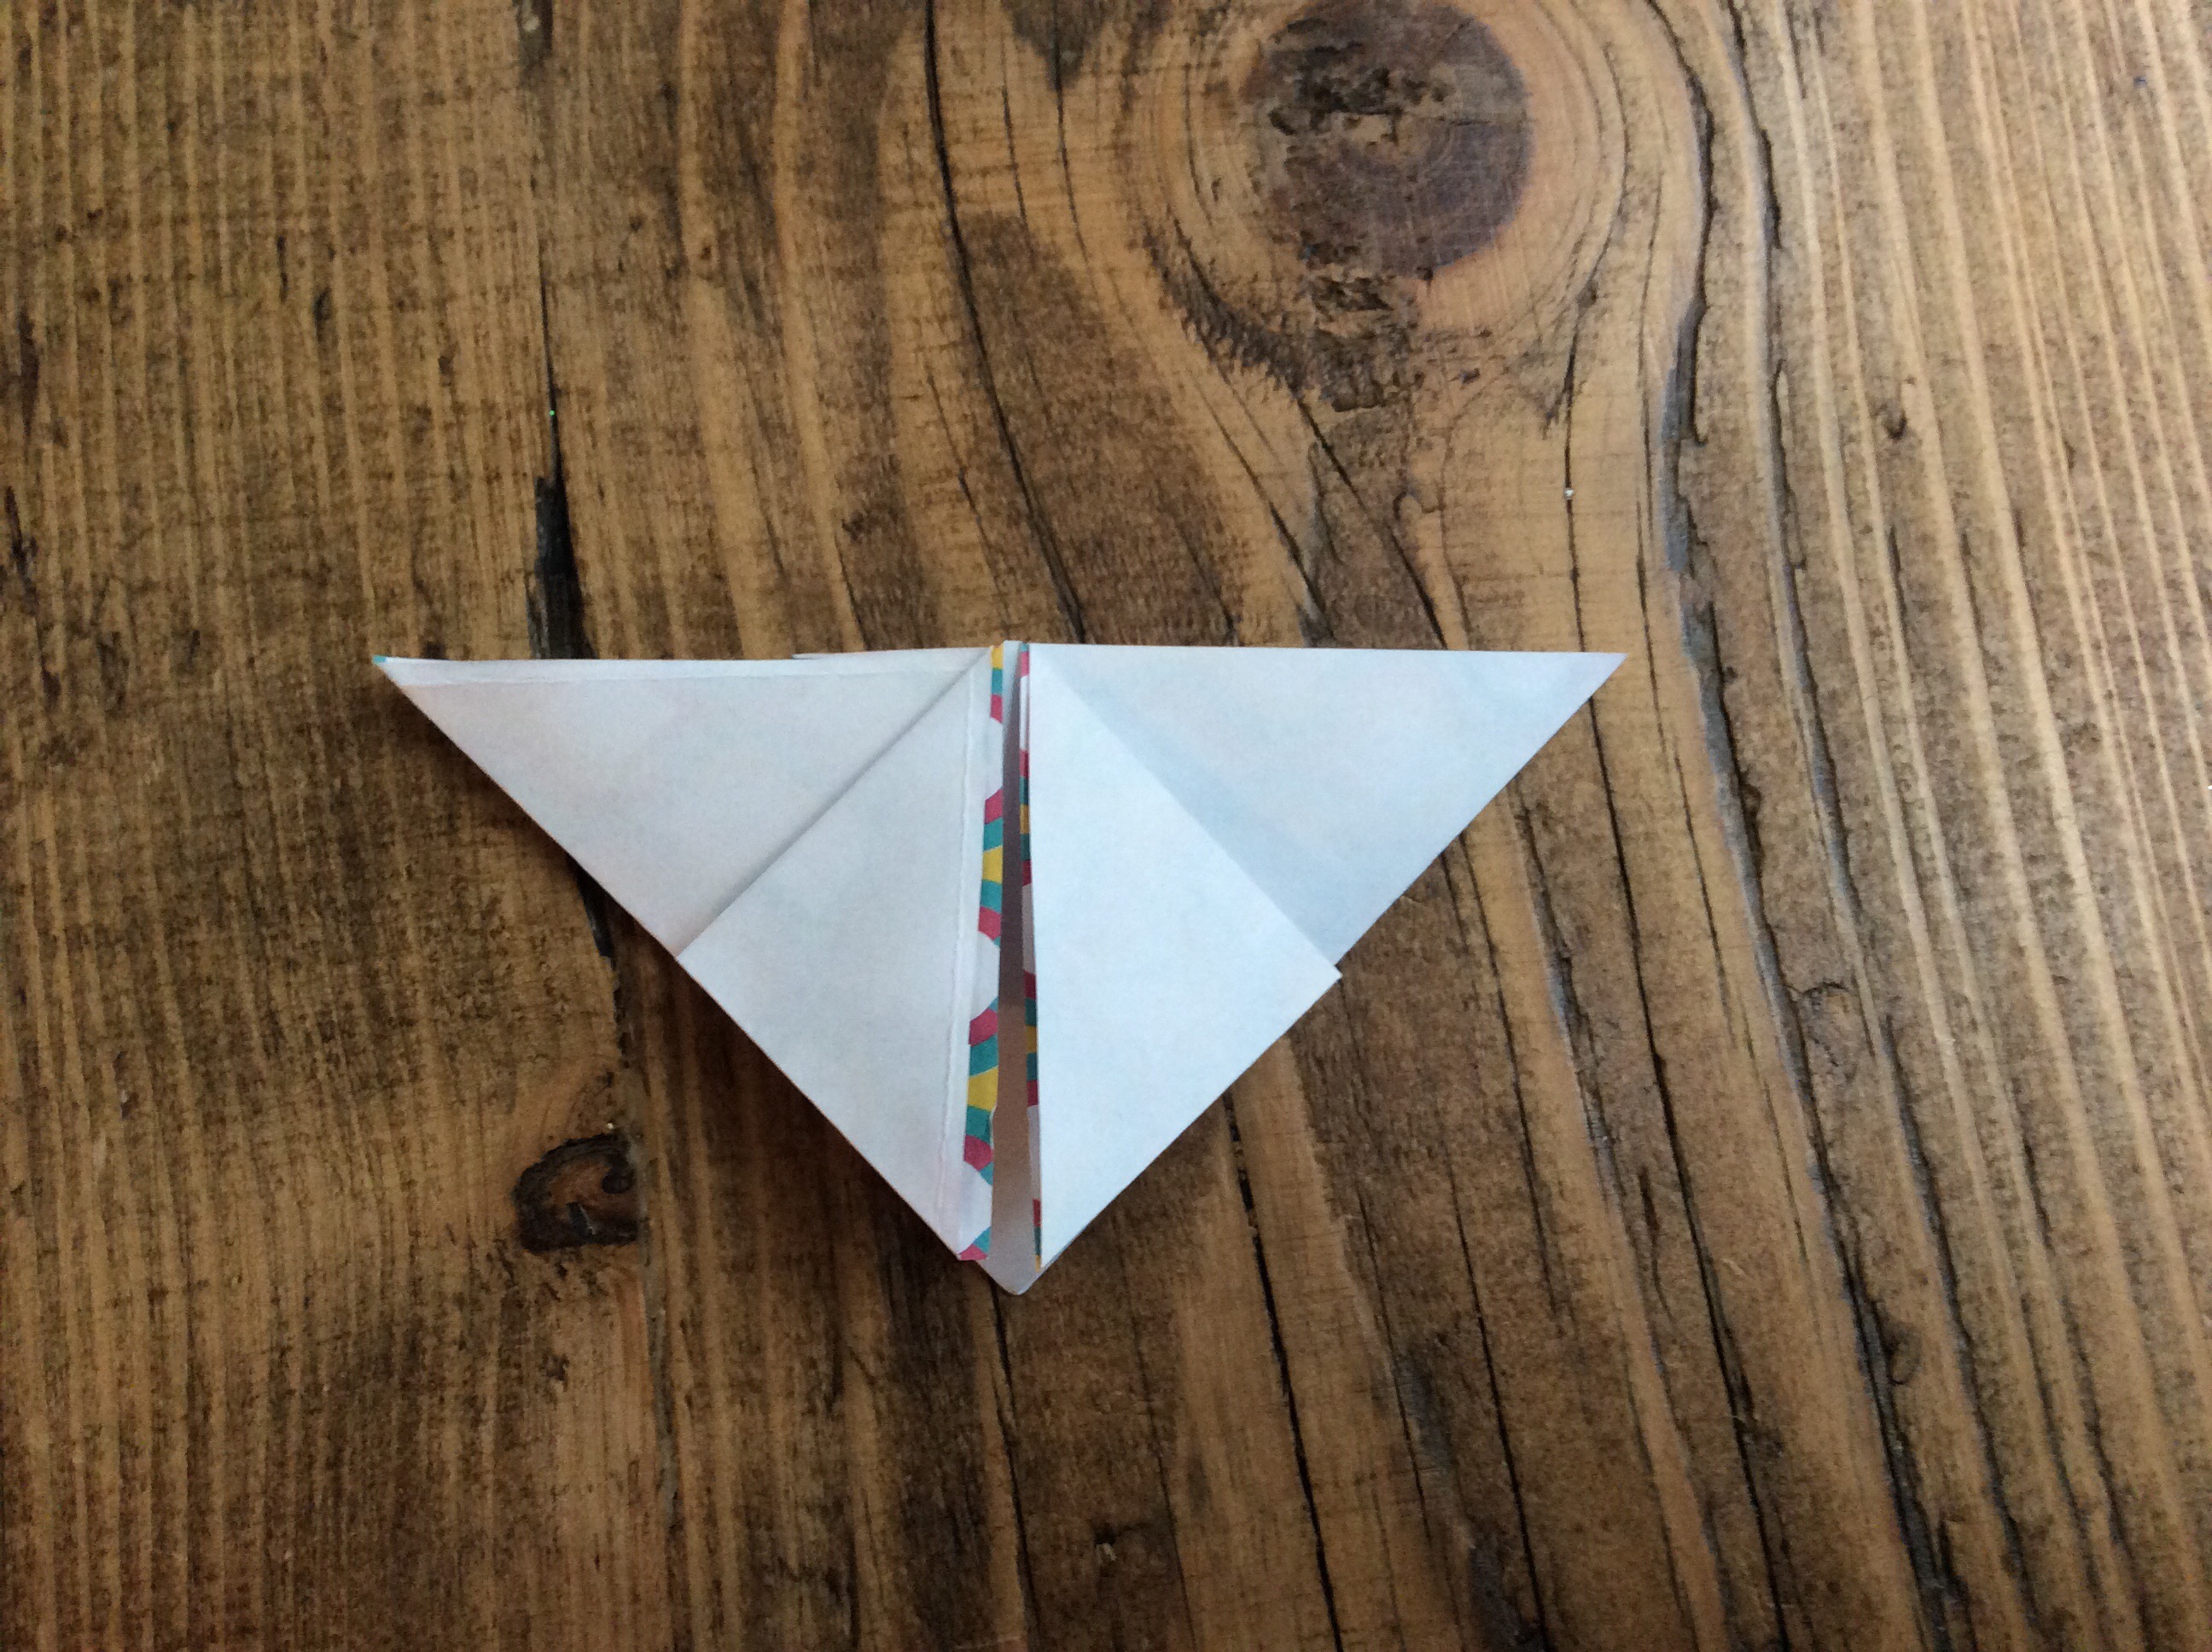
4. Flatten the paper into a triangle.
5. Fold the corners of the triangle down to the middle points on each side.
6. Fold the side points into the centre, repeat this for all 4 points.
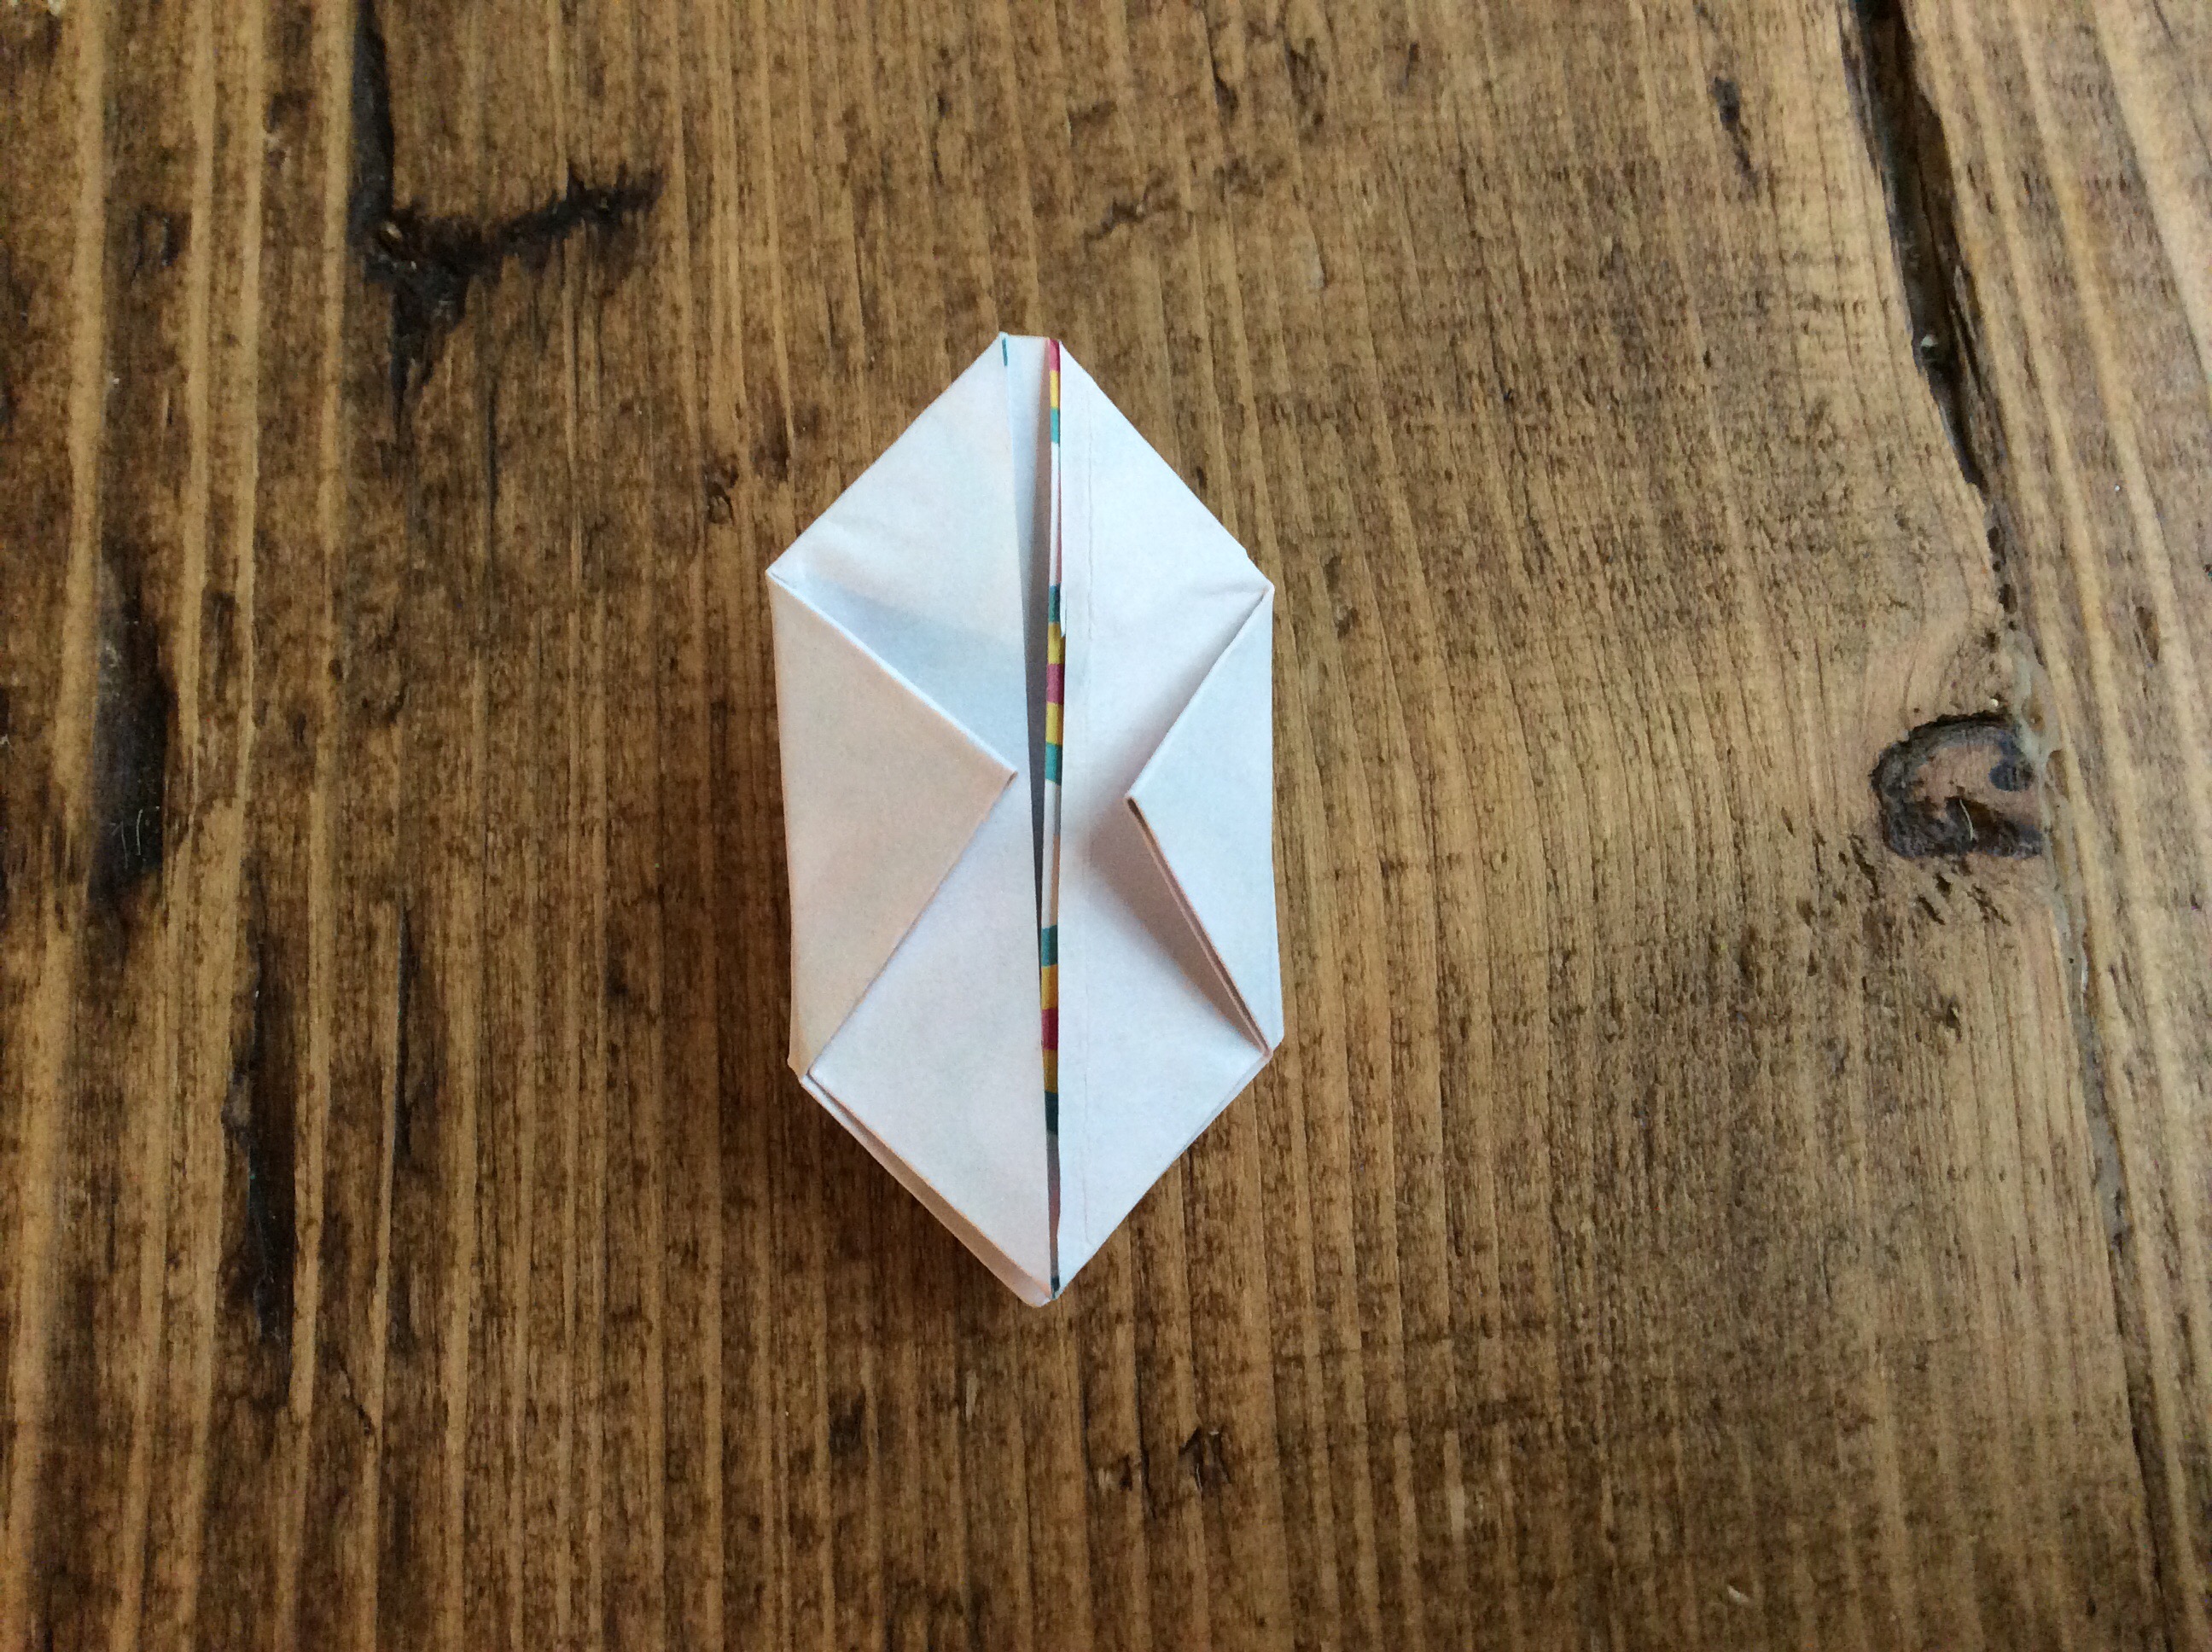
7. Tuck the 4 spikey points into the folds created in the previous step. 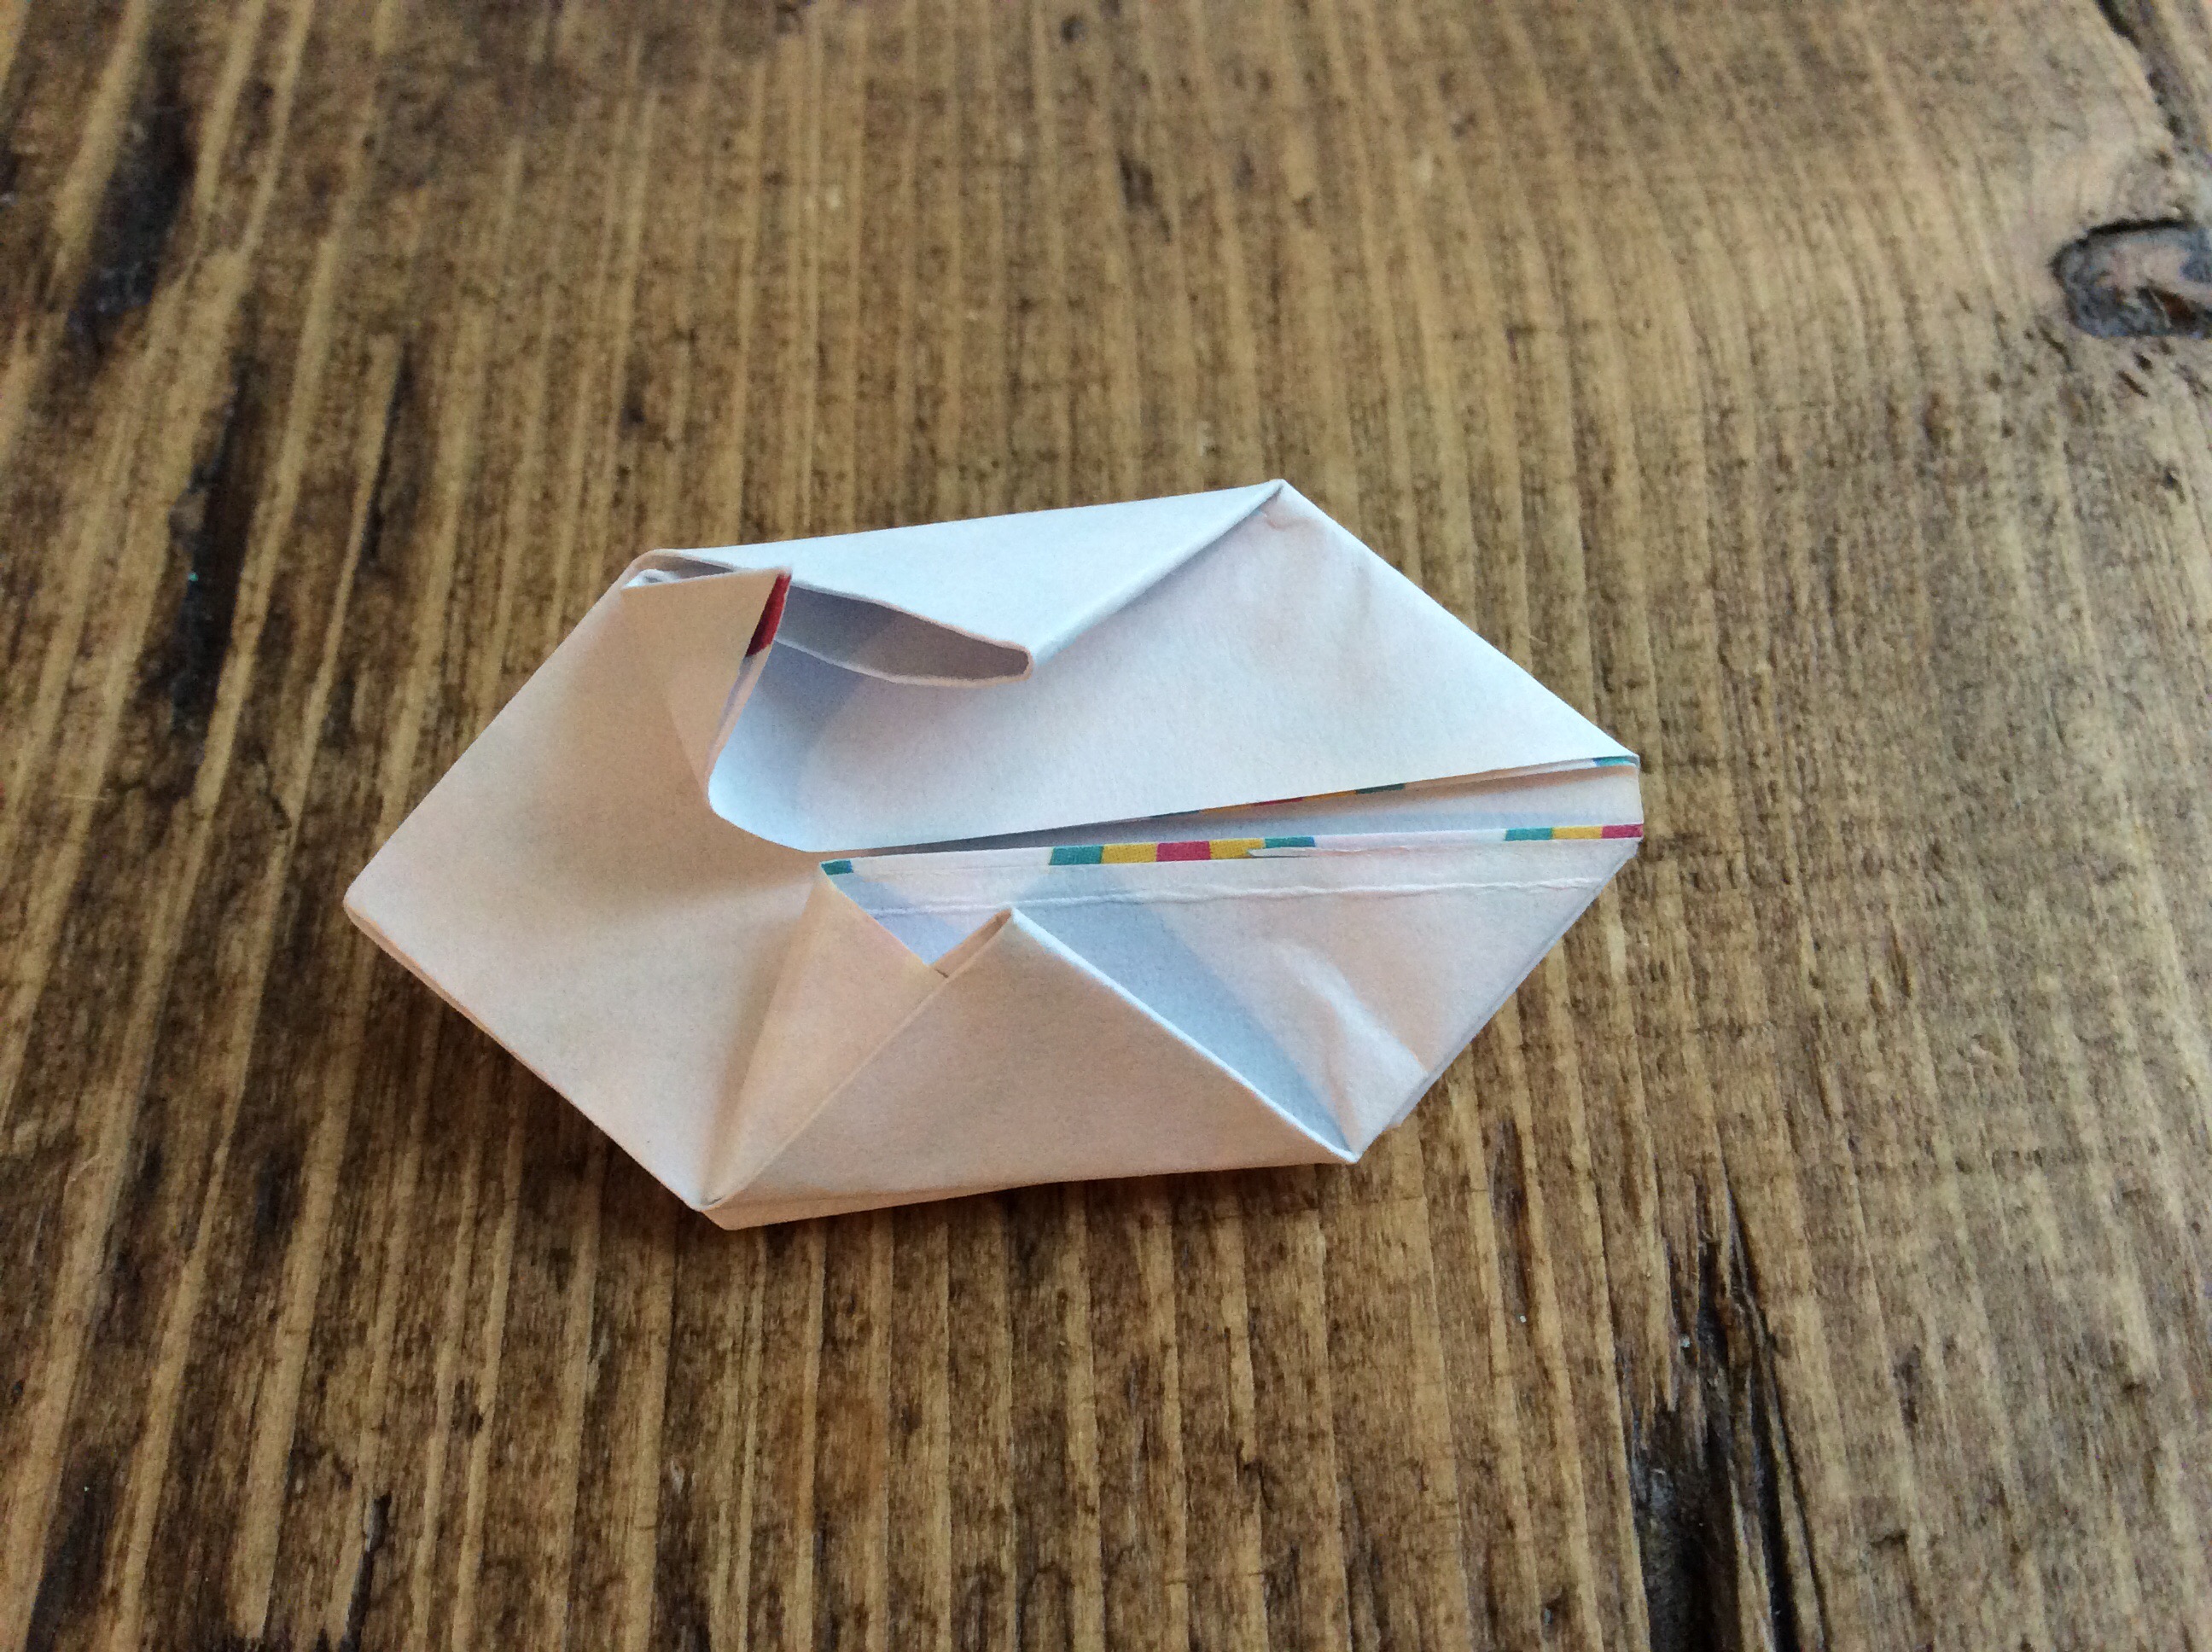
 8. Fold the two end points into the centre and back again to create a fold line.
9. Poke your index fingers in between the little wing pockets and pull apart gently so that the lantern takes shape.

10. Place the fairy light through the gap in the lantern and hey presto!
If you’re looking for more DIY Christmas decorations to make, take a look at Picker’s Kits DIY Christmas decoration kit.